
How to Make a Coloring Page From a Photo (Easy Options)
You can turn a suitable photo into a coloring page with a photo editor or an AI-assisted tool. The clearest results usually start with one recognizable subject, even light, and a simple background. Processing time, available free use, and output quality vary by tool, so check the current terms before you begin.
Once you have a page you like, you can print it for coloring, frame the finished artwork, use copies as party activities, or have the design printed on a coloring kit that can be colored directly on the fabric.
Why make a coloring page from a photo?
A photo-based coloring page feels personal because the subject is already familiar. A child's portrait, a family pet, or a favorite vacation photo can become an activity instead of staying in a camera roll.
Personal gifts. A child can color a page made from a family photo and give the finished picture to a grandparent.
Birthday activities. Print one page for each guest, or choose a design that can be printed on a shirt for a color-your-own party activity.
Screen-free time. Children may enjoy coloring a pet, stuffed animal, or family member they recognize.
Reusable ideas. The same design can become a paper activity, framed artwork, or a printed fabric coloring project.
Photo tip: Start with clear separation between the subject and the background. A face against a plain wall is usually easier to simplify than the same face in a cluttered room.
Choose the right type of tool
There is no single best converter for every photo. Choose a workflow based on how quickly you want a first draft and how much control you need.
| Tool type | Useful when | What to check |
|---|---|---|
| One-click photo converter | You want a quick first version with little setup. | Current use limits, download options, privacy terms, and whether the lines print clearly. |
| General photo or design editor | You want to adjust contrast, remove clutter, or refine lines by hand. | The learning curve and whether the available effects create true coloring-page outlines. |
| AI image editor | You want to describe a line-art style and compare variations. | Whether facial features and important details stay recognizable; results can vary between attempts. |
| DaVinci in You Studio | You want to upload a photo and try the current Coloring Page transformation. | Review the current options and any account or usage limits shown in the Studio. |
For the DaVinci option, open the photo-to-coloring guest creation flow, upload a supported photo, and choose the Coloring Page transformation. Avoid relying on a promised processing time; the result depends on the image and current service conditions.
How to get a cleaner coloring page
The tool matters, but the source photo matters more. Use these checks before uploading:
Choose one clear subject. A close portrait or pet photo usually produces more useful lines than a wide room scene with several small people.
Use even light. Heavy shadows can turn into dark patches, while blown-out highlights can erase facial detail.
Simplify the background. Toys, patterned wallpaper, plants, and furniture can become a tangle of outlines. Crop tightly or remove distractions first.
Keep the face readable. Front-facing or three-quarter portraits often preserve the eyes, nose, and mouth more clearly than a distant side profile or motion shot.
Start with the original file. Screenshots and social-media downloads may have less detail than the original photo.
Compare more than one result. If the first version looks too gray, too busy, or unlike the subject, adjust the crop or contrast and try again.
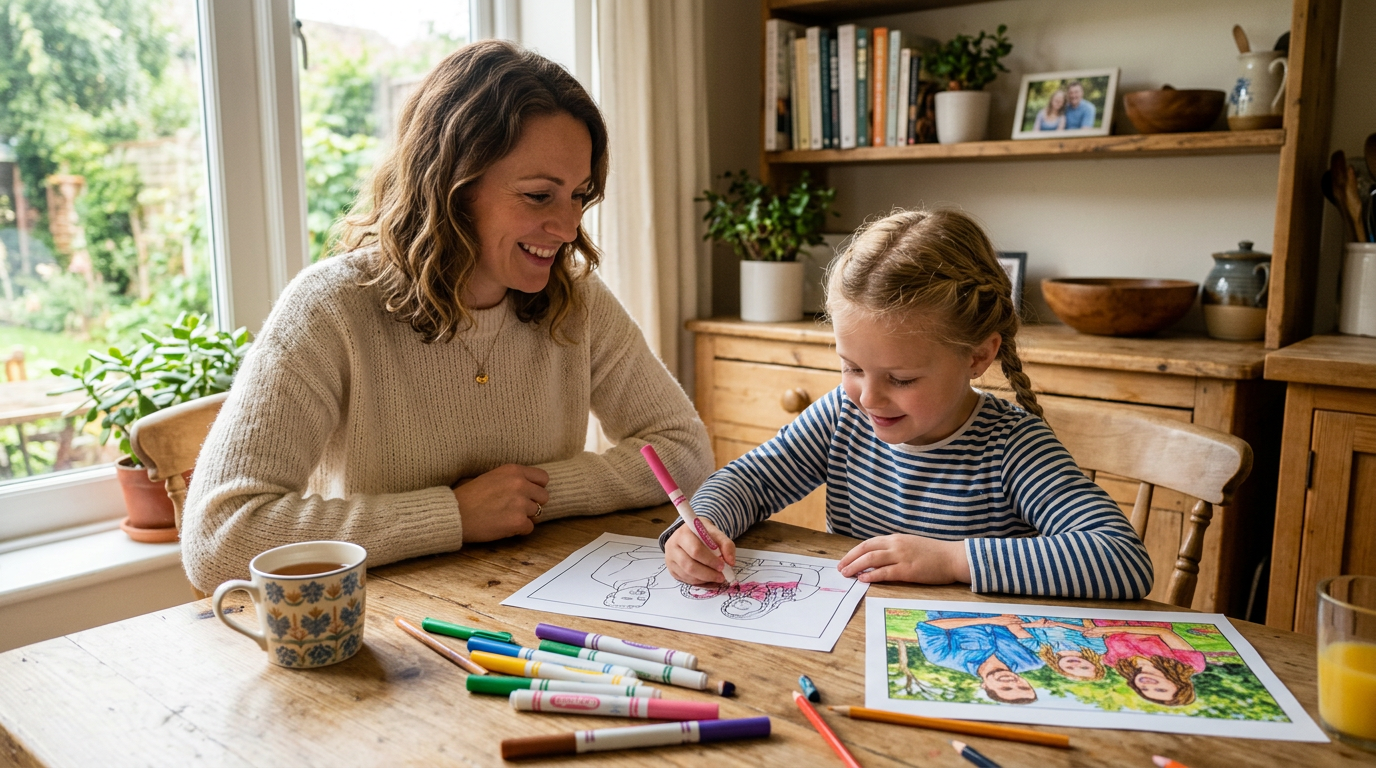
Print and test one page first
Open the downloaded file in your print dialog and use print preview before committing to multiple copies. Choose the correct paper size and orientation, then decide whether “Actual Size” or “Fit to Page” gives the margins you want. Do not assume one setting is right for every file.
Regular printer paper is fine for a test. Heavier paper can feel sturdier for a framed gift, but confirm that the paper is compatible with your printer. Print one copy and check that the outlines are dark enough, the face is recognizable, and no important detail is clipped.
Crayons, colored pencils, and ordinary art markers can all work on paper. Put scrap paper underneath if the coloring tool may bleed through.
How to use the design on a shirt or blanket
A paper coloring page is not an iron-on transfer. Do not place an ordinary printed page face-down on fabric and iron it.
DaVinci in You coloring apparel and blankets follow a different workflow:
- Create or choose the design. Use a photo transformation or select an existing coloring design.
- Order the item with the design printed on it. The artwork is printed on the shirt, sweatshirt, apron, or blanket before it reaches you.
- Color the printed fabric directly. Use the fabric markers supplied with the selected kit. Check the product page for the current marker quantity.
- Let the design dry completely. Drying time depends on the ink, fabric, and how heavily the color was applied.
- Heat-set promptly for the strongest wash result. Follow the marker directions, product instructions, and fabric care label. Use an iron only when those instructions allow it.
Without heat-setting, DaVinci in You marker color does not become permanently set right away. It can become more permanent after a long air cure, but a later machine wash may still cause heavy fading. After prompt heat-setting, fading should be extremely light and may not be perceptible. See the full fabric-marker setting and washing guidance before laundering the finished item.
You can also browse current blanket coloring kits with pre-printed designs to see how a fabric coloring project differs from a paper printable.
Quick quality check
- The main subject is easy to recognize.
- Important features are not lost in shadows or background clutter.
- The outlines print clearly on one test page.
- The page has open areas that are comfortable to color.
- You checked the current tool's use limits and download options.
- For a fabric kit, you understand that the design is printed on the item and colored directly.
- You will follow the marker, product, and care-label instructions before heat-setting or washing.
Frequently asked questions
Can I try DaVinci in You before choosing a fabric kit?
Open the current guest creation flow. The Studio will show the creation options and any limits available at that time, so you can test a suitable photo before deciding what to do with the result.
What photos work best for coloring pages?
Start with one clear subject, even light, and a simple background. Portraits and pet photos often work well. Busy scenes, heavy shadows, and distant faces can create less recognizable outlines.
Can I print the coloring page at home?
Yes, if the downloaded file is compatible with your printer. Use print preview, select the correct paper size and orientation, and print one test copy before making extras.
How do I put a photo-based coloring design on a shirt?
Do not iron an ordinary paper coloring page onto the shirt. Create or choose the design, order a shirt with that artwork printed on the fabric, and color the printed design directly with the kit's fabric markers. Let it dry and follow the marker, garment, and care-label instructions for heat-setting.
Will the fabric-marker color stay after washing?
Heat-setting promptly gives DaVinci in You markers their strongest machine-wash result. Without heat, a later wash may cause heavy fading. After prompt heat-setting, fading should be extremely light and may not be perceptible, but no fabric-and-wash combination should be treated as a universal no-fade guarantee.
Ready to test a photo? Use the DaVinci in You guest creation flow and review the current options before you start.
Want more photo-to-coloring ideas? Read How to Turn Any Photo Into a Coloring Page, or compare practical considerations in Photo to Coloring Page Converter: What to Use (and What to Avoid).
Browse current projects: Shop coloring kits and apparel.