
Photo to Coloring Page Converter: What to Use (and What to Avoid)
A photo-to-coloring-page converter can simplify a picture into line art, but no single tool works equally well for every photo. Start with a clear subject, use the tool that fits your goal, and review the result for recognizable details and open spaces before you print it or place it on a product.
This guide compares what several current tools officially offer and explains what to check in the finished image. It is not a hands-on ranking, and free-use limits and export conditions can change.
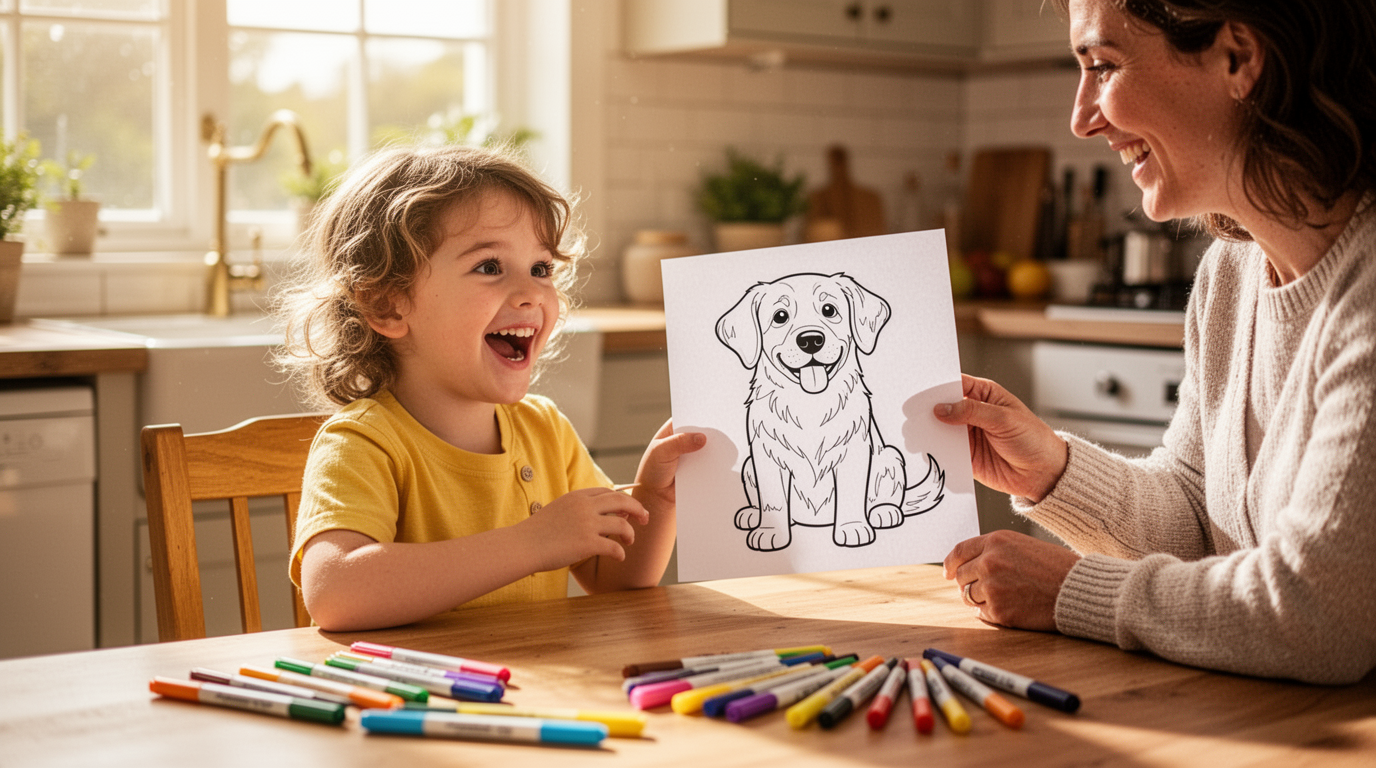
How photo-to-coloring-page tools work
These tools generally take one of two approaches:
Edge-detection tools remove color and emphasize changes in contrast. Photoshop’s Find Edges filter is one example. Because this method can pick up shadows and background texture, the result often needs manual cleanup.
AI image transformations create a simplified interpretation of the photo. They may leave out background details or redraw parts of the subject. That can produce more open coloring areas, but it can also change facial features, hands, clothing details, or a pet’s markings. Results vary by photo and tool.
Helpful starting point: Choose a sharp, well-lit photo with one clear focal subject and a relatively simple background. That gives either method less visual clutter to interpret, although it does not guarantee a perfect result.
Current converter options to compare
The details below were checked against each provider’s official pages in July 2026. They describe published features, not a same-photo performance test.
| Tool | What the official source currently says | What to check before relying on it |
|---|---|---|
| DaVinci in You Studio | Upload a supported photo, choose Coloring Page, and review the transformed result. Guest mode offers limited free use. The Studio also connects the transformation to product preview and ordering for supported personalized color-it-yourself items. | Current usage limits are shown in the Studio. Do not assume a particular download format, watermark policy, or printable export unless the current interface confirms it. |
| ColorBliss | Its current converter lists Default/Classic, Manga, Minimal, and Ghibli styles and advertises PNG and PDF downloads. | Check whether the selected style keeps the person, pet, or object recognizable without filling the page with small details. |
| Fotor | Fotor currently markets a free photo-to-coloring-page converter with no watermark. | Fotor’s free-use guidance says an account is required, so check the current sign-in and export steps. |
| iColoring | The current page markets free conversion and multiple styles. | The same page also displays premium controls, including a Remove Watermark option. Check the current export screen rather than assuming every download is watermark-free. |
DaVinci in You is a useful option when you want to move from a photo transformation to a preview of a personalized color-it-yourself item. If you only need a file in a particular format, compare the current export terms of the tools that explicitly offer that format.
👉 Open the DaVinci in You Studio and try a Coloring Page transformation
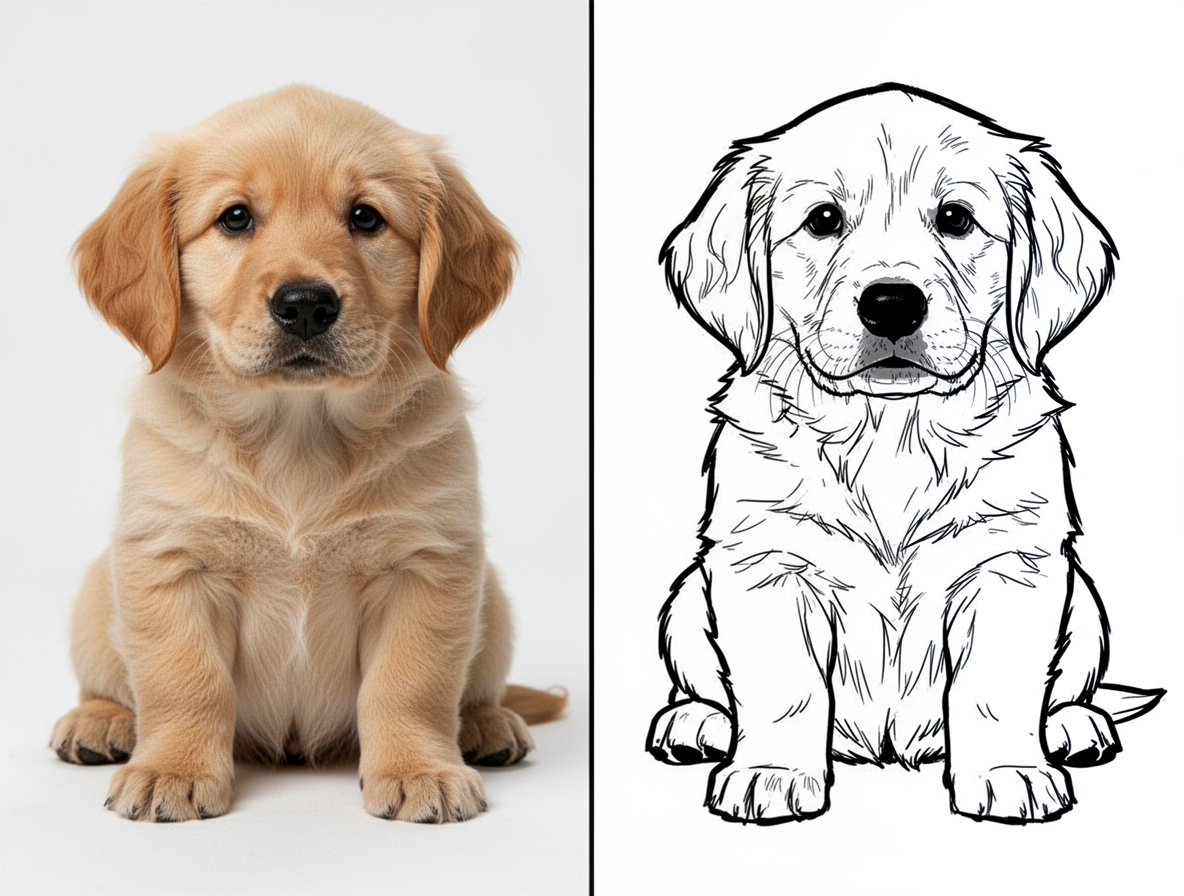
Photoshop and Canva: more hands-on options
If you already use Photoshop, you can build a basic line-art effect manually:
- Open a copy of the photo.
- Desaturate it.
- Apply Find Edges.
- Use Levels or Curves to reduce gray areas and improve contrast.
- Inspect important details and clean them up before exporting.
This route offers more manual control, but shadows, hair, textured fabric, and busy backgrounds can create extra lines. Faces may also need careful cleanup.
Canva’s current Sketchify tool can turn a photo into a sketch or line-drawing-style image. It is not a dedicated coloring-page workflow, so inspect the result for unwanted shading, cramped details, and areas that are too dark to color.
Choose by workflow: Use a manual editor when you want detailed control over the lines. Use a dedicated converter when you want a quicker first draft, then review the output rather than assuming one method is always cleaner or faster.
How to judge the result
Before you spend time coloring, printing, or ordering, check the image at full size:
- Recognizable subject: The face, pet, or object should still look familiar.
- Open coloring areas: Large areas should not be packed with tiny lines or solid gray shading.
- Useful detail: Keep details that identify the subject, but remove distracting background texture.
- Clean edges: Look closely at eyes, fingers, hair, clothing, and pet markings for odd shapes.
- Current terms: Confirm account, usage, export, watermark, and commercial-use conditions on the tool’s current screen.
A preview can look fine at a small size while hiding broken lines or distorted features. Zoom in before deciding that the image is ready.
Ways to use a finished design
If the tool you choose provides an export that fits your needs, you can print a paper copy for a family activity, frame a child’s finished version, or mail it to a relative. Our gift ideas for grandma offer more ways to turn children’s artwork into a thoughtful keepsake.
DaVinci in You can also connect a photo transformation to personalized color-it-yourself products. Review the current product listing for available sizes and exactly what is included. Choose the item size and markers using the current size chart and marker age label, supervise children, and have an adult handle any heat-setting.
For DaVinci in You fabric markers, heat makes an important difference. Without heat, the color does not set permanently right away. Leaving it for a long time can help it become more permanent, but a later machine wash may still cause heavy fading. When an adult heat-sets the design promptly according to the item and marker instructions, machine-wash fading should be extremely light and may not be perceptible. Read our full guide to how permanent markers and fabric markers behave on clothing.
For a larger color-it-yourself project, browse the current blanket coloring kits.
Frequently asked questions
How do I turn a photo into a coloring page?
Choose a sharp photo with a clear subject, upload it to a converter, select a coloring-page or line-art transformation, and review the result closely. In the DaVinci in You Studio, guest mode offers limited free use and the current interface shows the available options. Export and account requirements vary by tool.
What is the best photo-to-coloring-page converter?
There is no single best choice for every photo or goal. Compare how well each tool preserves the subject, how much cleanup the result needs, and whether its current account and export terms fit your project. DaVinci in You is designed to connect photo transformation with product preview and ordering for supported personalized items.
Can I convert a photo to a coloring page in Canva?
Canva currently offers Sketchify for photo-to-sketch and line-drawing-style effects. Because it is not a dedicated coloring-page workflow, check the result for dark shading, crowded detail, and enough open space to color.
Do DaVinci in You fabric markers fade in the wash?
They can. Without heat, the color does not set permanently right away, and even a long air-set period may still be followed by heavy fading in a machine wash. Have an adult heat-set the design promptly according to the item and marker instructions; after that, fading should be extremely light and may not be perceptible.
What age is a photo-coloring activity for?
That depends on the child, the item, and the markers being used. Follow the current marker age label and product size chart, supervise children as appropriate, and have an adult handle heat-setting. Do not treat a clothing size as a safety-age recommendation.